This option allows for a general assessment of controls within the management system. This assessment can be used and copied across all configured risk analyses. In this way, organizations could have a central repository of controls that can be associated with different analyses from various areas without the need to reassess them again.
To access it, when clicking on the Control Management option, a top menu with two options is enabled. By clicking on the General Assessment option, you will access the list of control assessments of the organization. With this option, you can have a common repository of controls but with different assessments, so each assessment can be associated with the risk analysis where it is needed.

The actions of this option are:
-
New: Create a new assessment to be able to copy it to the risk analyses. To create risk assessments, it is necessary to choose the methodology on which to base this assessment. For this reason, when clicking the new button, a pop-up window will open with the methodologies defined in Settings - Analysis Methodology - Control Methodology.

-
Delete: Delete control assessments that are no longer in use.
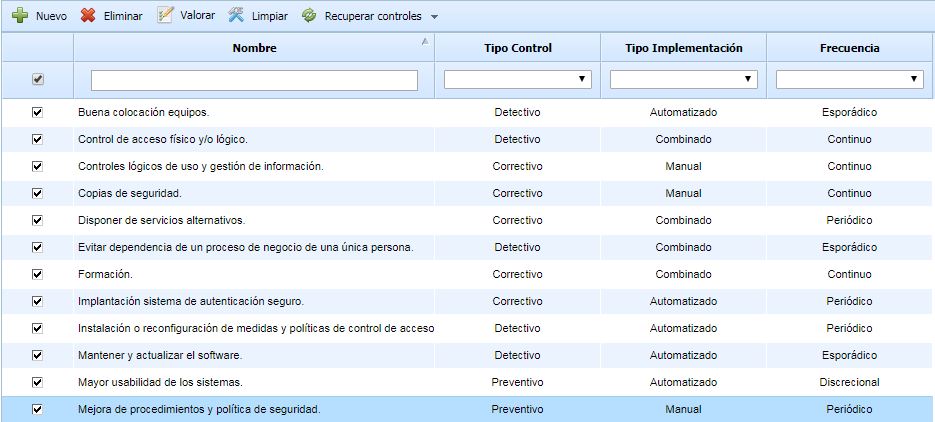
By clicking on the link in the Assessment list, you will access the screen where the controls will be assessed.
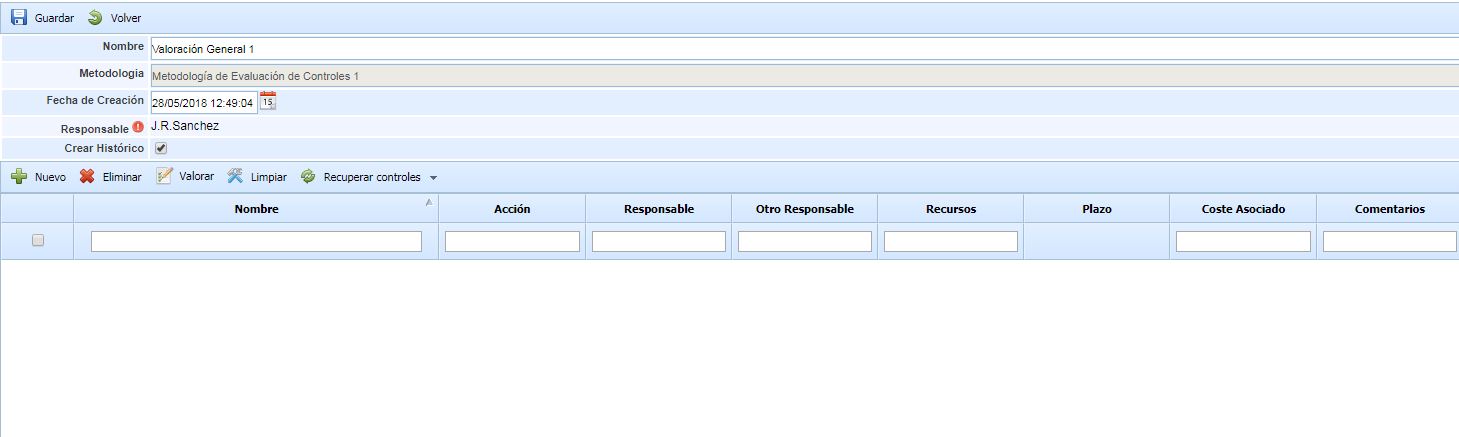
At the top of the screen, we have the following fields:
-
Name: Name that identifies the assessment.
-
Methodology: Label to display the control methodology being used.
-
Creation Date: Date of the assessment.
-
Responsible: Person responsible for the assessment. By clicking the red button, a pop-up window will open with the employees defined in the Management - Employees option.
-
Create History: If this option is checked, whenever the established assessment is applied, a history will be created to avoid losing the risk analysis data.
To start creating controls for the assessment, the following options are available:
-
New Button: This action will create a manual button to rename and modify the assessment.
-
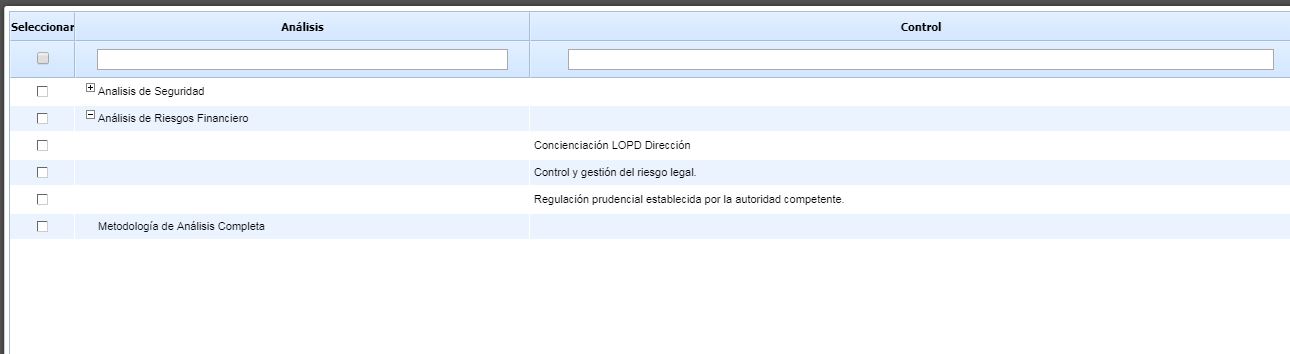
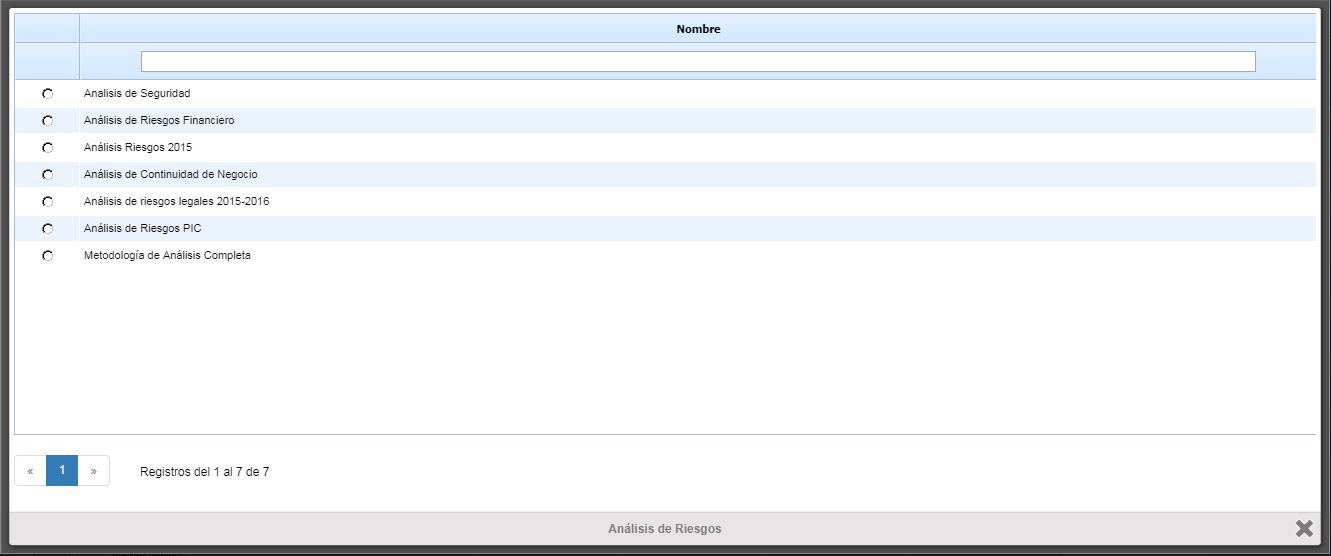
Retrieve Controls - From Analysis: By clicking this button, a window will open with the analyses where the defined methodology for the evaluation is used. When opened, the analyses will be displayed, and within the analysis, the controls used. By clicking on the left column, the controls will be automatically associated. If you click on the analysis, all controls belonging to the analysis will be marked, saving the need to go one by one.
-
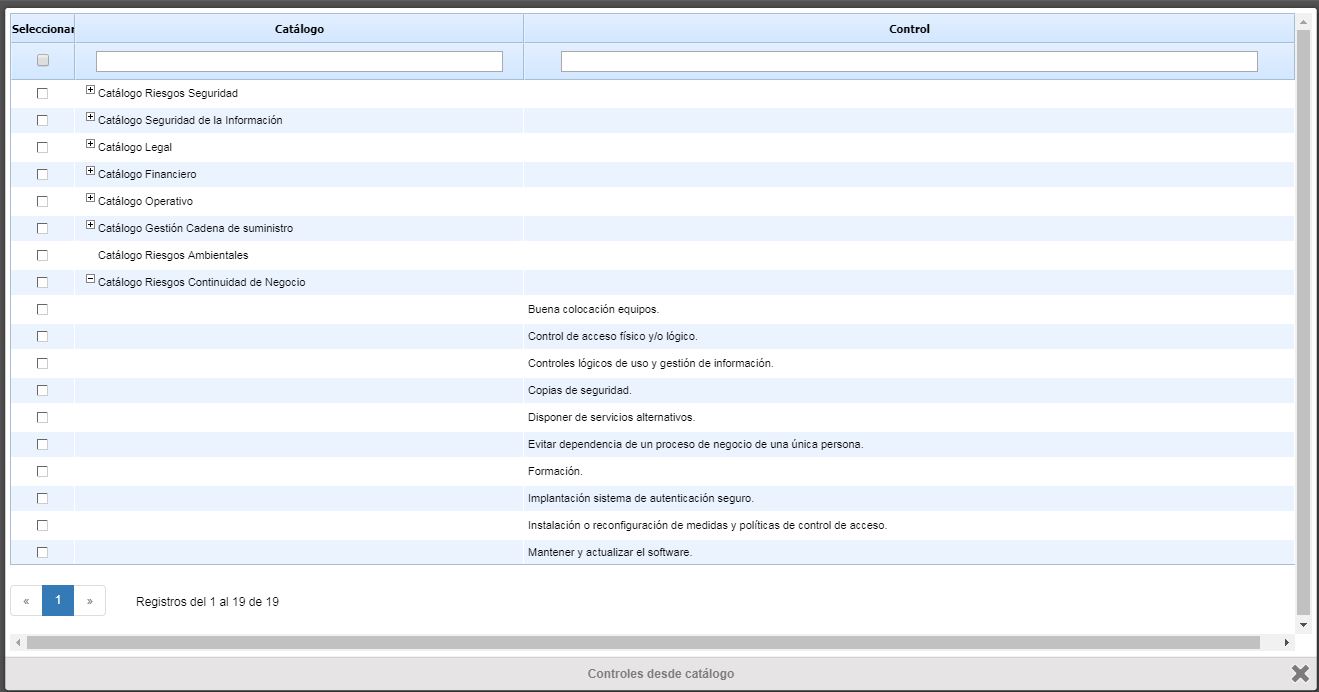
Retrieve Controls - From Catalog: By clicking this button, a window will open with the catalogs associated with the analysis where the control methodology is used. When opened, the catalogs will be displayed, and within the catalogs, the controls. By clicking on the left column, the controls will be automatically associated. If you click on the catalog, all controls belonging to that catalog will be marked, saving the need to go one by one.
Once the controls to be associated with the methodology are chosen, these controls can be assessed. The difference between retrieving controls from the analysis or from the catalog is that if you already have an analysis with assessed controls, by linking it from the analysis, these controls will be copied with their existing assessment. If, on the other hand, you want to start an assessment from scratch, you would need to import controls from the catalog.
Once the controls are added, the control dimensions can be modified by double-clicking on the cell you want to modify.
In addition to these options for adding controls, the following options are available:
-
Delete: If a control is not needed in the assessment, it will be selected in the table (by clicking on the control) and the Delete button will be clicked.
-
Clear: If a control has an assessment and you want to delete these assessments without deleting the control, it will be selected in the table (by clicking on the control) and the button will be clicked. This will delete all the information contained in the control except for the Name column.
-
Apply: Once all controls are assessed, this button will be clicked to copy the data to the analyses. Hovering over this button will open two options.
-
Apply All Dimensions: All control information will be copied without differentiating whether the cell is empty or complete.
-
To all controls: The information will be copied to all selected controls, even if these controls already have data. In this case, the data will be replaced with the new ones.
-
To controls without assessment: The information will only be copied to controls that do not have data, and no modifications will be made to controls that already have any dimension or attribute assessed.
-
-
Apply Assessed Dimensions: Only the dimensions of controls containing data will be copied, ignoring empty dimensions.
-
To all controls: The information will be copied to all selected controls, even if these controls already have data. In this case, the data will be replaced with the new ones.
-
To controls without assessment: The information will only be copied to controls that do not have data, and no modifications will be made to controls that already have any dimension or attribute assessed.
-
-
To apply these dimensions, the controls to be copied must be selected by selecting them in the left column. The copy will only be made on the selected controls. If you want to select all, click on the header of the first column to avoid going one by one.
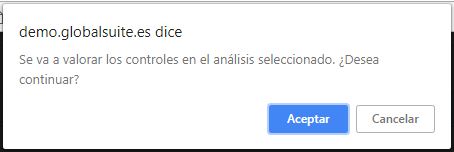
Once the Apply button is clicked, considering which controls the assessment of this evaluation should be applied to, a pop-up window will open with the analyses where this methodology is used. By clicking on the left column, a confirmation message will appear to modify the risk analysis. The risk analysis data will be modified, and if the Create History option is not selected, the old data will not be viewable.
NOTE: For GlobalSUITE to correctly identify the controls, a comparison will be made between the control name in the assessment and the control name in the analysis. Therefore, the names must match to perform the copy correctly.
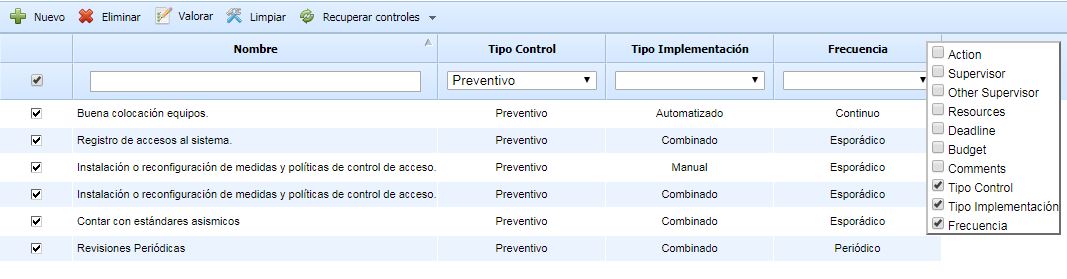
Finally, this table will have the same functionalities as the rest of the tables in GlobalSUITE. Columns can be hidden or shown by right-clicking on the table header and selecting these columns. Additionally, the table information can be sorted by the selected column by left-clicking on the column header. If you need to identify controls with a common attribute, you can use the table filter, and the rest of the controls that do not meet this attribute will be hidden.
In the image, you can see the table using the filter and with the column menu open to configure the display.