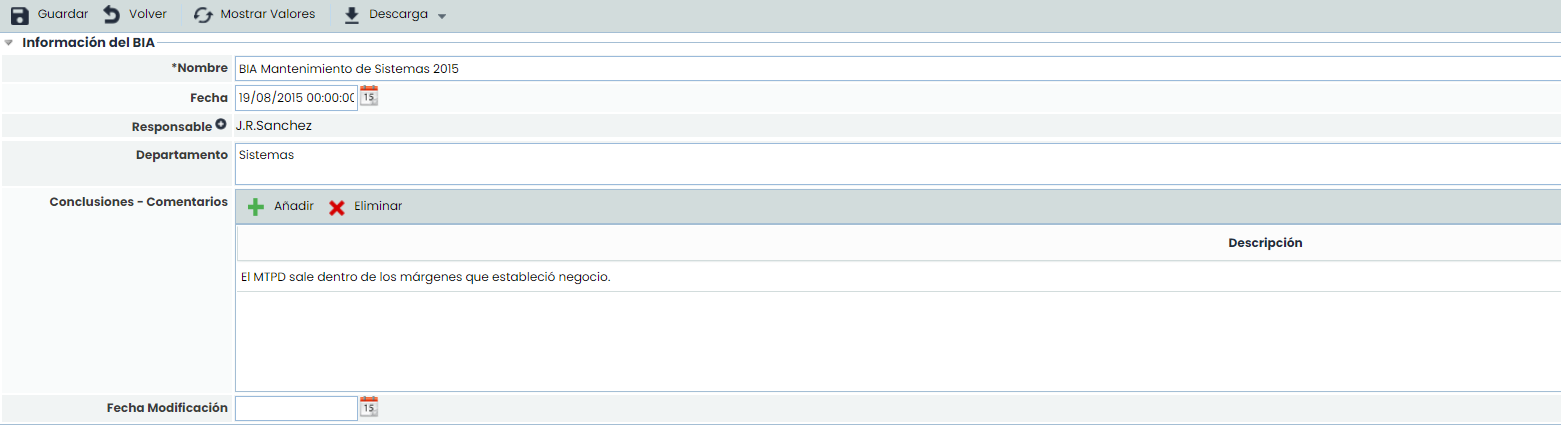
BIA Information
-
Name: Refers to a descriptive name of the BIA that will be displayed in the home table.
-
Date: Allows setting the date of the BIA execution.
-
Responsible: Allows identifying the person responsible for conducting the BIA.
-
Department: Identifies the department(s) involved in the execution and evaluation of the BIA.
-
Conclusions: Allows identifying the conclusions related to the results obtained in the impact analysis by clicking the ‘Add’ button. To delete a conclusion, select the desired row(s) and click the ‘Delete’ button.
-
Modification Date: Allows setting the modification or update date of the BIA.
For each BIA record, it is possible to download the survey details in .docx format. To do this, click the "Download" button and then "Docx Report".
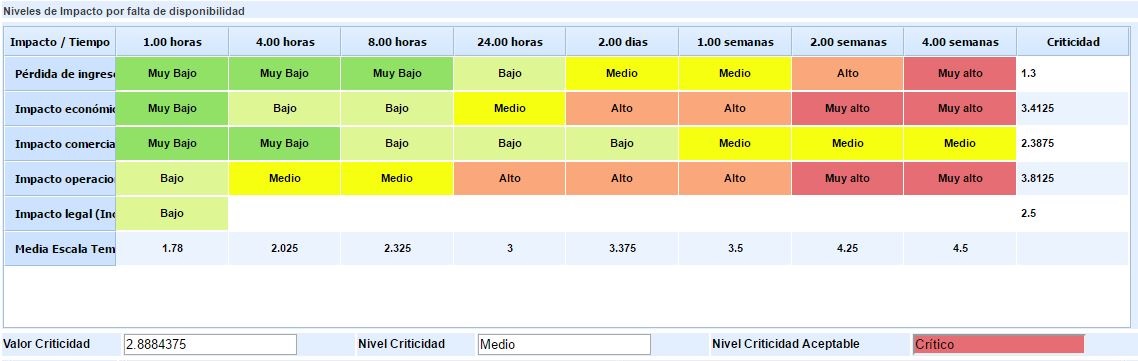
Impact Table
Allows evaluating how different impacts affect a specific process over a time scale.
Depending on how the Impact Types have been defined in the section Settings > Business Continuity > BIA Configuration, several tables will appear to assess qualitative impacts (by Impact levels):
Or quantitative impacts (by entering numerical values):
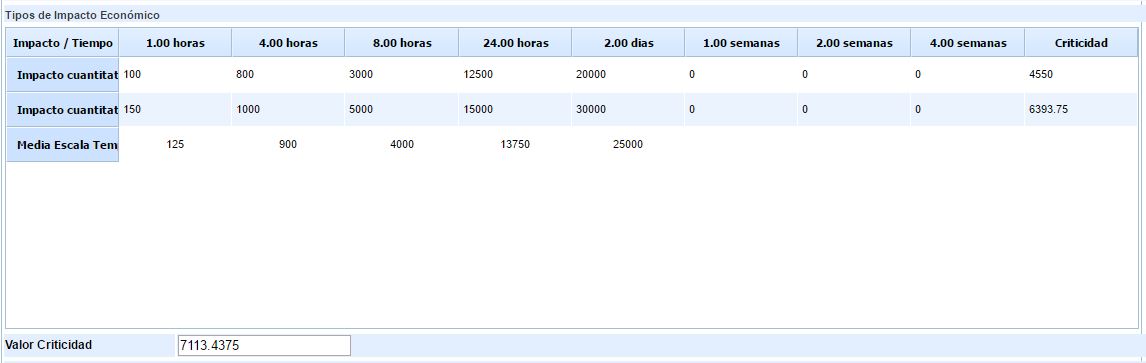
These tables allow assessing the impact of process interruption in a normal situation. Additional tables can also be added to assess the impact during a critical business period if that assessment differs.
For each impact table, a process criticality value is obtained based on the assessment entered in the table and the defined criterion (Cumulative, Maximum, Minimum, Average, Weighted Average) in the 'Settings/Business Continuity' section.
For qualitative impact tables, in addition to the criticality value, a criticality level is obtained based on it and according to the configured scale.
Graph
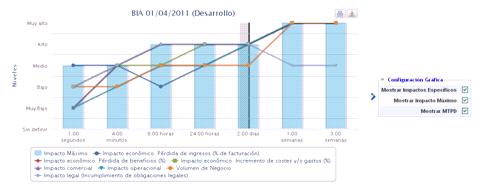
Allows graphically visualizing the values entered in the impact table. The visualization options are as follows:
-
Show specific impacts: Allows globally viewing each of the impact assessments made in the previous section.
-
Show Maximum Impact: Allows viewing the maximum impact level for each time scale.
-
Show MTPD: Allows viewing the Maximum Tolerable Period of Disruption (MTPD). The MTPD calculation is developed in the following section.
If the user wants to see the specific graph of an impact, they can select its visualization in the box located below the graph.

MTPD and RTO Calculation
The calculation of MTPD and RTO depends on the configuration established in Settings > Continuity > BIAs .
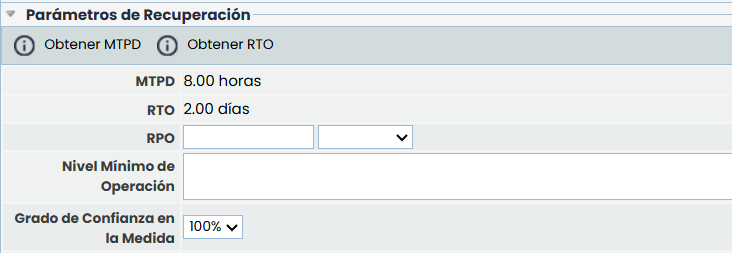
MTPD Calculation
The MTPD shows the maximum tolerable service interruption time evaluated.
The options available in this section to calculate and define the MTPD are as follows:
Calculation Type
-
Manual: the user responsible for management directly enters the numerical value and the time unit (seconds, minutes, hours, days, weeks).
-
Automatic: the platform calculates the MTPD based on the recorded impacts and according to the configured criterion.
-
Configured in each BIA: it is possible to decide from this same form whether the calculation is manual or automatic.
This will depend on what is configured in Settings > Continuity > BIAs .
Depending on the selected MTPD Type, it allows calculating the MTPD:
-
Manual: The user responsible for management sets the numerical and temporal value of the maximum interruption time.
-
Automatic: The platform automatically calculates the MTPD based on the following criteria:
-
First Impact: Establishes the MTPD when the first level of impact found matches the scale defined by the user (Very High-Very Low).
-
First Impact Average: Establishes the MTPD when the average of the impacts matches the scale defined by the user (Very High-Very Low).
-
First Impact of Type: Establishes the MTPD when the first level of a specific impact matches the scale defined by the user (Very High-Very Low).
-
Once all the criteria have been defined, click the ‘Get MTPD’ button, and the tool calculates the value automatically.
RTO Calculation
The options available in this section to calculate and define the MTPD are as follows:
Calculation Type
-
Manual: the user responsible for management directly enters the numerical value and the time unit (seconds, minutes, hours, days, weeks).
-
Automatic: the platform calculates the MTPD based on the recorded impacts and according to the configured criterion in Settings > Continuity > BIAs .
Depending on the selected RTO Type, it allows calculating the RTO:
-
Manual: The user responsible for management sets the numerical and temporal value of the maximum interruption time.
-
Automatic: The platform automatically calculates the RTO based on the following criteria:
-
First impact: sets the RTO when the first impact level found matches the scale defined by the user (Very High – Very Low).
-
First impact average: sets the RTO when the average of the impacts matches the scale defined by the user (Very High – Very Low).
-
First type impact: sets the RTO when the first level of a specific impact matches the scale defined by the user (Very High – Very Low).
-
Percentage of MTPD: calculates the RTO by applying a percentage to the MTPD, entered as a numerical value between 1 and 100.
-
-
RPO: Allows defining the specific RPO of the evaluated process. To do this, a number (text field) and the time scale (dropdown) must be defined.
-
Minimum operating level: Allows identifying the minimum resources necessary to provide the service.
-
Confidence level in the measure: Allows indicating the user's confidence level regarding the obtained MTPD.
Necessary Resources
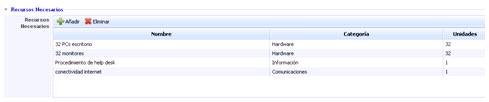
This section allows detailing the necessary resources for the business process to operate normally.
To add a new entry, simply click the ‘Add’ button and modify each of the table cells. To delete one or more defined resources, select the desired row(s) and click the ‘Delete’ button.
Resumption of Normal Operating Levels

-
Recovery deadline: Allows setting the maximum time in which the organization must return to normal.
-
Justification: Allows making any annotation that justifies the time defined in the previous point.
Inventory Assessment
This section allows assessing the process based on the dimensions defined in the section Settings > Methodologies > Risks.
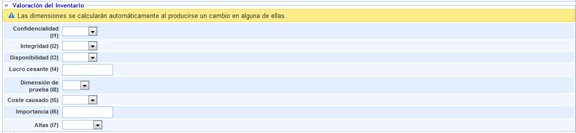
NOTE: Depending on the methodology defined in the 'Settings/Analysis Methodology' section, the assessments can be qualitative or quantitative.
Customizable Questions
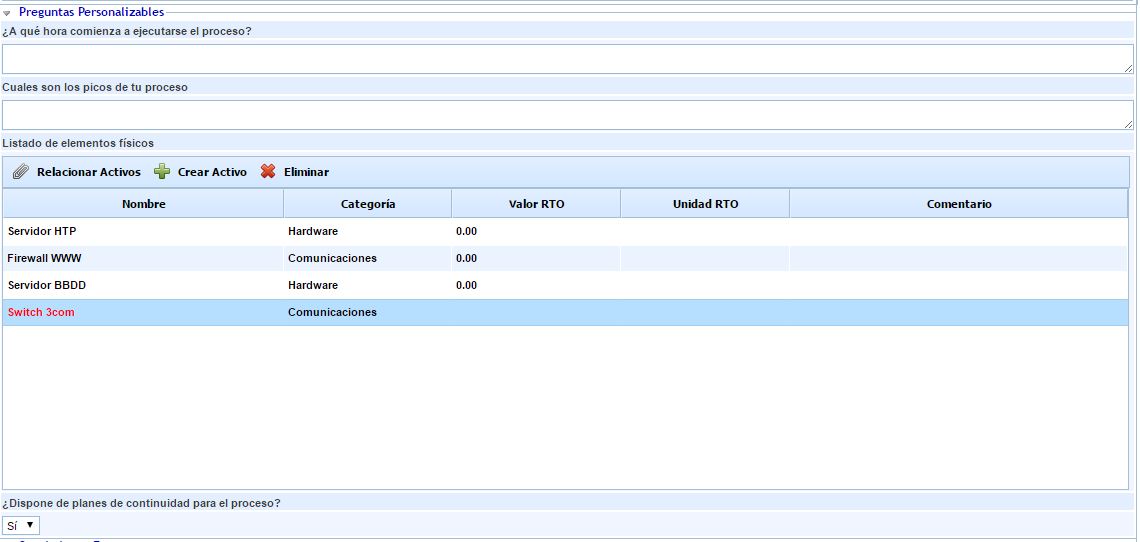
In the BIA form, the questions configured in the section Settings > Business Continuity > BIA Configuration will appear. These questions can be of different types: 'Text', 'Select', 'Table', or 'Table Elements'.
In 'Table' type questions, records can be added by clicking the 'New' button and removed with the 'Delete' button, as well as editing each field by double-clicking.
'Table Elements' Type Questions
The options for this table are as follows:
-
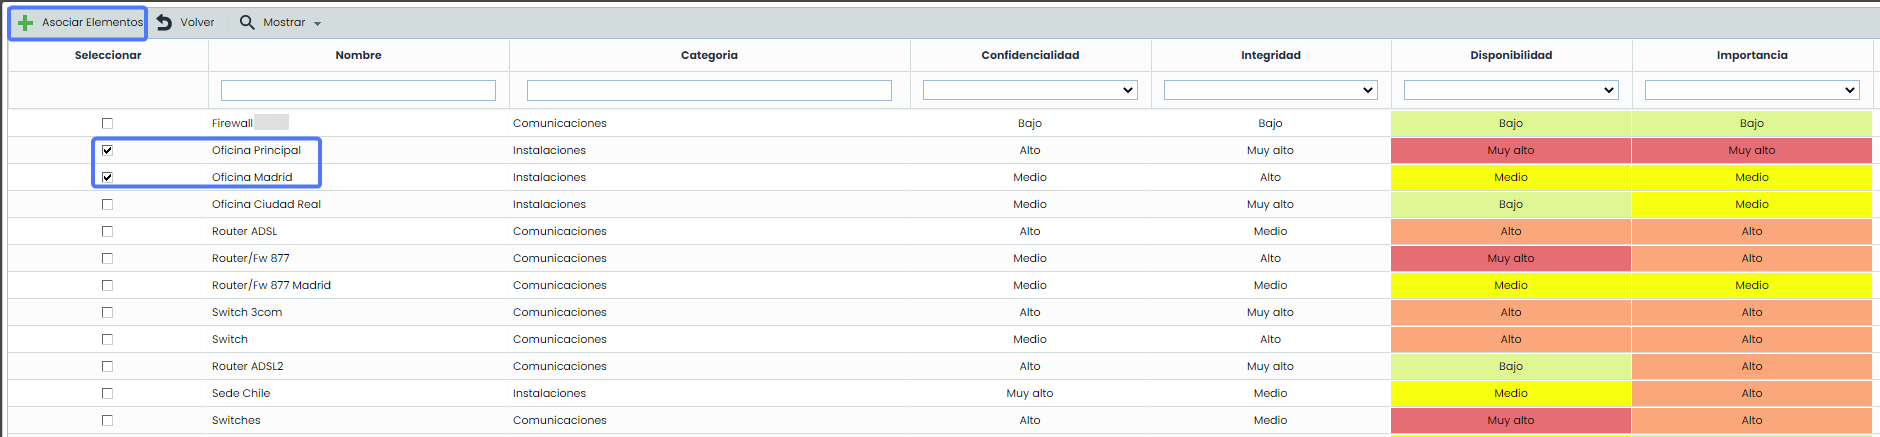
Relate Elements:
For this type of question, it is possible to include elements from the Inventory (Analysis > Inventory) using the "Relate Elements" button. Clicking it will open a pop-up window showing the list of elements with the categories configured for the question, allowing the selection of the elements to be incorporated and adding them through the "Associate Elements" button.
In addition to default fields such as Name, Category, Value, or RTO Unit and Comment, manual inventory dimensions such as Confidentiality, Integrity, and Availability of an element can be added.


These dimensions (qualitative, quantitative, textual) can be modified in the Individual BIA itself and automatically transferred to the Consolidated BIA. The assessments can also be modified in the Time-Based BIA or Impact-Based BIA surveys to assess both existing and newly identified elements.
NOTE: The configuration of 'Table Elements' type tables is done in the option Settings > Business Continuity > BIAs.
If the process is in the dependency tree with associated elements, the elements associated in that dependency tree appear by default in the elements table. If, on the other hand, the process is not in the dependency tree, all inventory elements are shown in the elements table. Regardless of the elements shown in the initial load, the 'Show' button allows viewing all inventory elements ('All' option) or only the elements associated with the process ('By Process' option).
-
Create Element:
It will be possible to incorporate new elements by clicking the "Create Element" button. These assets will appear in red to indicate that they are not inventory elements.

For all elements incorporated in the 'Table Elements' type question, it is possible to specify the recovery time in case of disaster using the 'RTO Value' and 'RTO Unit' fields, the Category, and adding a comment for each element. Additionally, the added dimensions of the inventory elements can be assessed.