Entries

-
Entries: This section consists of a table listing the entries of the requirement. Each requirement entry is created by clicking the ‘Add’ button, allowing you to edit the name and description of the entry by double-clicking on the corresponding field. If you want to delete an entry, you must select the desired row or rows and press the ‘Delete’ button. The tool provides the following columns:
-
Id
-
Subject
-
Description
-
Type
-
Requirement Data
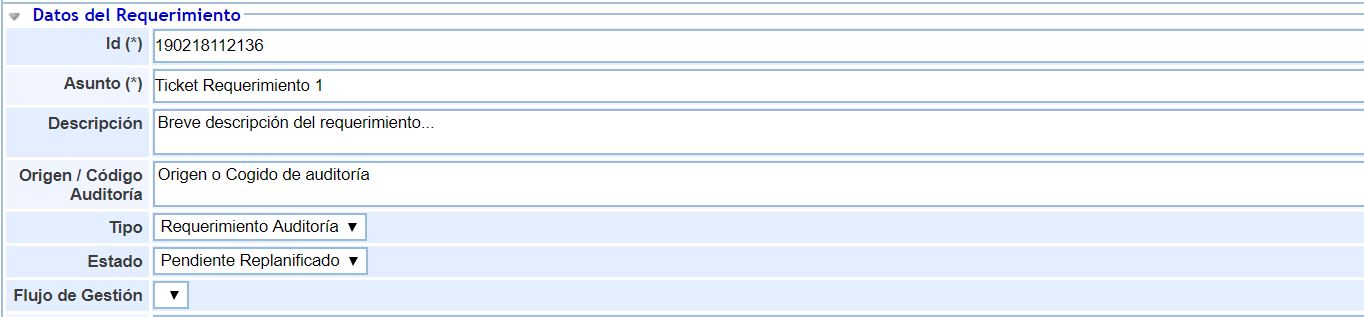
Below are all the fields that will allow you to properly register the requirements.
-
Identifier (Id): This will be automatically generated and will correspond to a unique requirement number that allows it to be identified.
-
Subject: Allows assigning a name that describes the requirement.
-
Description: Allows specifying the body of the requirement.
-
Origin/Audit Code: Identifies the origin or the code of the Audit work, to relate the requirement to the audit where it was recorded.
-
Type: There are two selection options. It allows selecting to assign the typology of the requirement, between Audit Requirement and Internal Requirement.
-
Status: Defines how the non-conformity is during its management. The solution provides the following options:
-
Pending attention: This status is set when the requirement needs to be addressed.
-
Pending rescheduling: This status is changed when the requirement needs to be rescheduled with other terms.
-
Addressed: Once planned, the change to this status indicates that the process of addressing the requirement has begun.
-
Rejected: Determines that after analysis, it is considered not to be a real requirement and therefore a possible solution is rejected.
-
Closed/Reviewed: Establishes that a solution has been proposed for the requirement.
-
-
Management Flow: This is the option corresponding to the default Workflow, which appears already configured except for the users. It is fully configurable in case the statuses need to be changed.
-
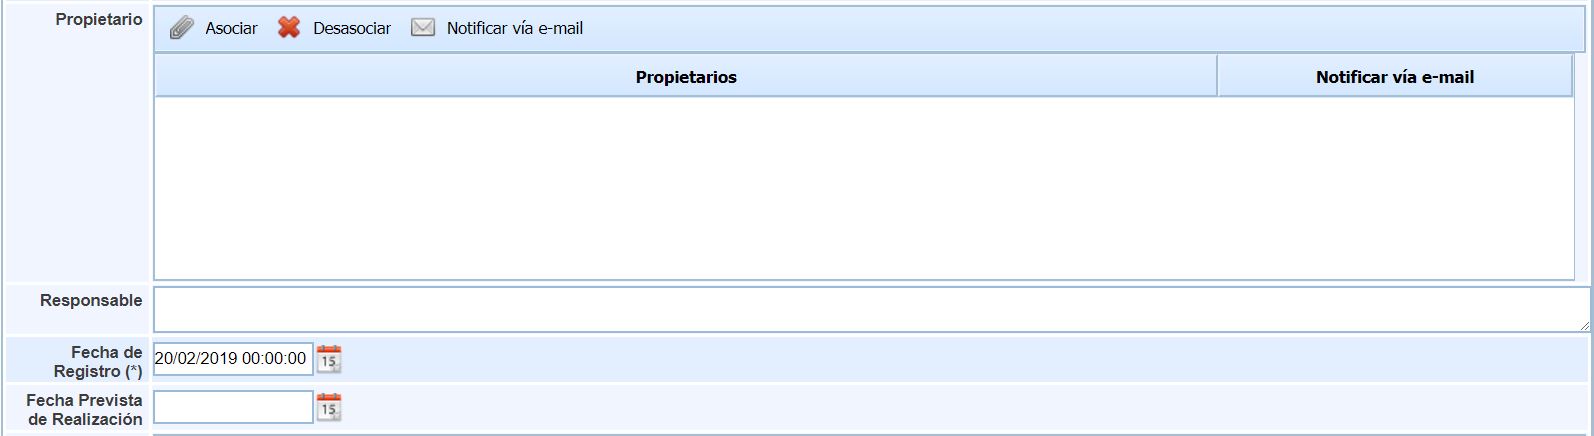
Owner: Indicates the person or persons who reported or need to follow up and be informed of the requirement's status. To select a new owner, click on Associate to choose from the system's employees. It also offers the possibility to Notify the user via email.
-
Responsible: Determines the person in charge of managing the requirement.
-
Registration Date: This is a mandatory field to save the ticket. It allows entering the creation date of the requirement.
-
Expected Completion Date: Sets the date on which it is considered that the requirement will be closed.
-
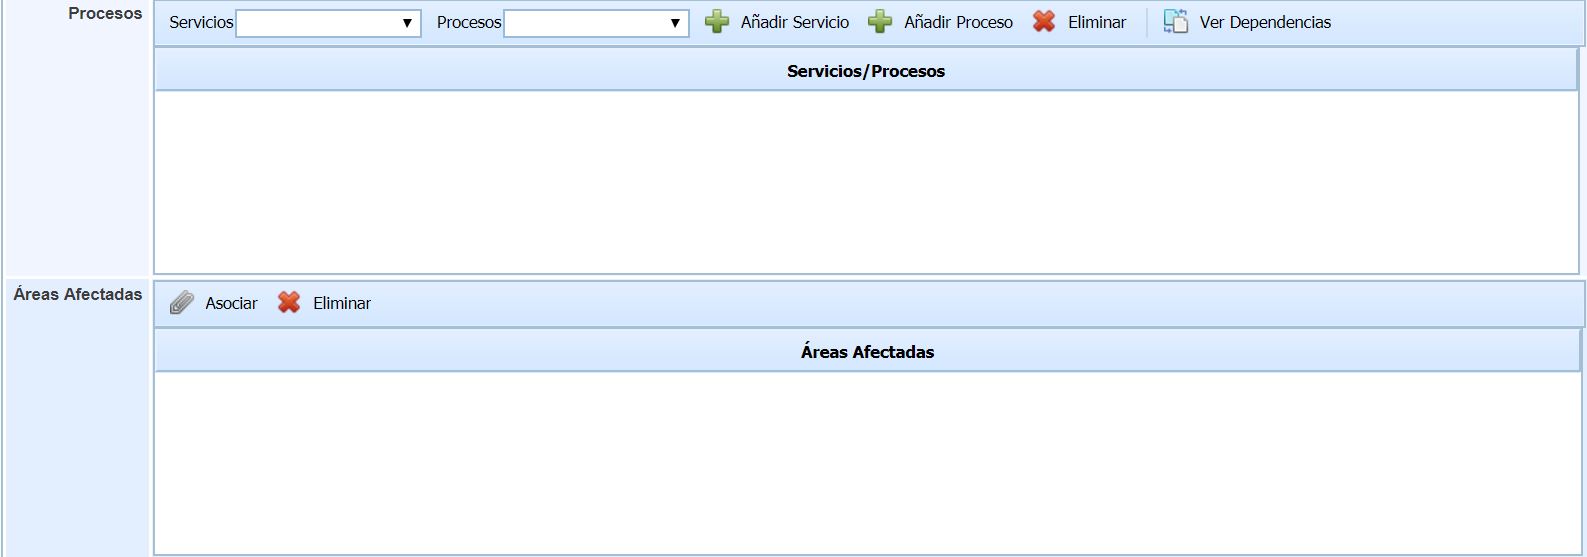
Processes: Services and Processes affected by the requirement can be selected. Adding them to the requirement allows the dependencies to be appreciated.
-
Affected Areas: Within the definition of each non-conformity, the areas influenced by the requirement can be identified. Those areas affected by the defined requirement can be selected.
-
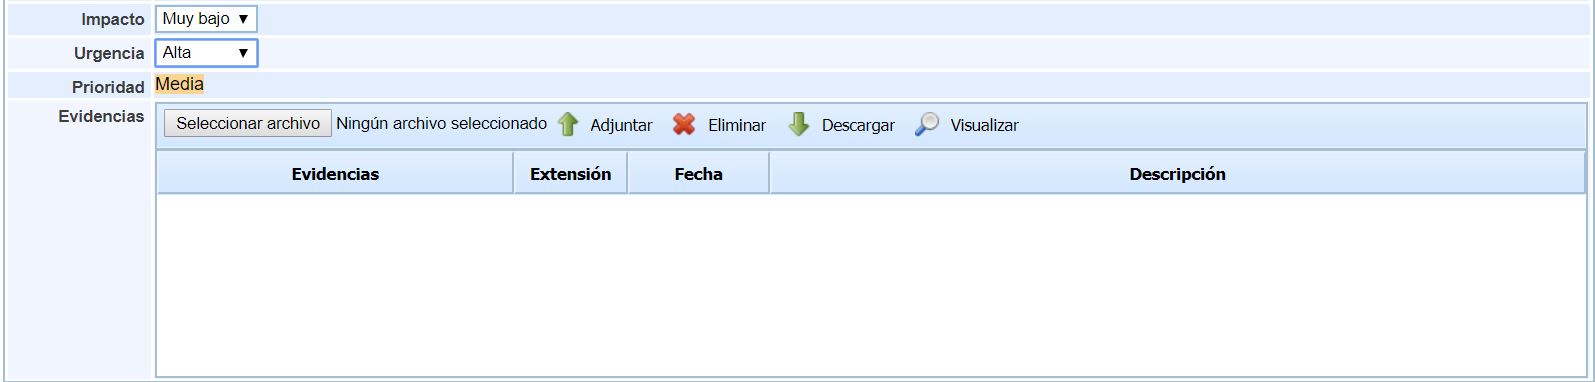
Impact: Establishes the effect of not resolving the registered requirement.
-
Urgency: Establishes the need for resolution with which the requirement must be addressed.
-
Priority: This value is obtained from the values defined in impact and urgency, and allows prioritizing the requirements to be managed.
-
Evidence: This option allows attaching documents to be uploaded and linked to the requirement. They can be attached from a location, and then deleted if desired, downloaded, or viewed without downloading.
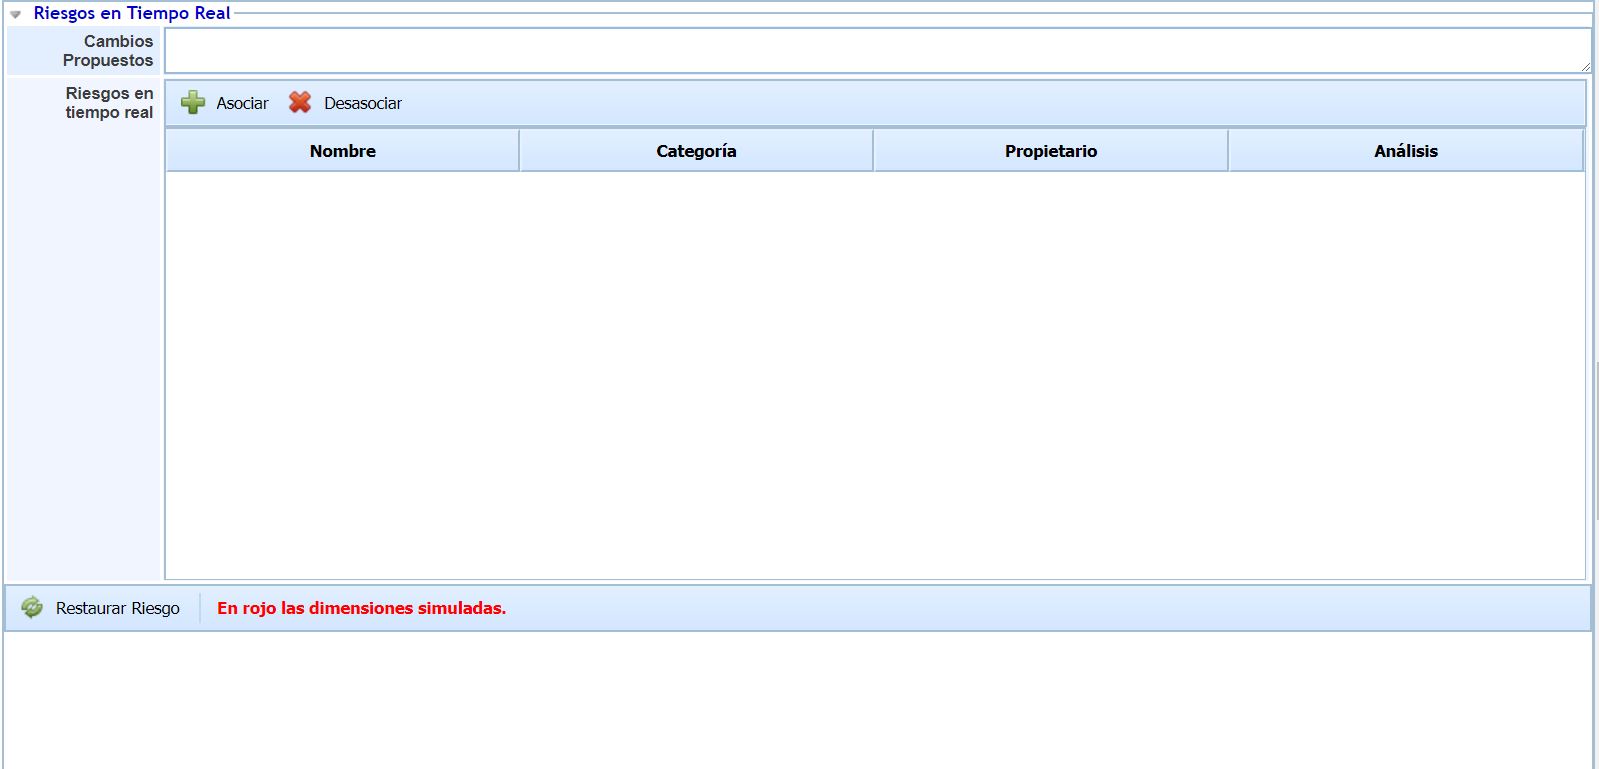
Real-time Risks
-
Proposed Changes: Allows defining the changes to be proposed in this requirement.
-
Real-time Risks: Associates the table with the dimensions name, category, owner, risk analysis.
-
Associate: Once the element is selected, it allows inserting it into the table.
-
Dissociate: Allows removing one or more elements from the table. To do this, the desired row must be selected and the 'Delete element' button pressed.
-
-
Restore Risk: This button allows restoring a risk that has been previously loaded so that the effect on the simulated dimensions can be seen in red.
Employees
-
Participants: Indicates additional people to the Workflow managers who are responsible for managing the requirement. To select one or more people, click on Associate and mark the corresponding ones in the employee list. It also offers the possibility to Notify the user via email.

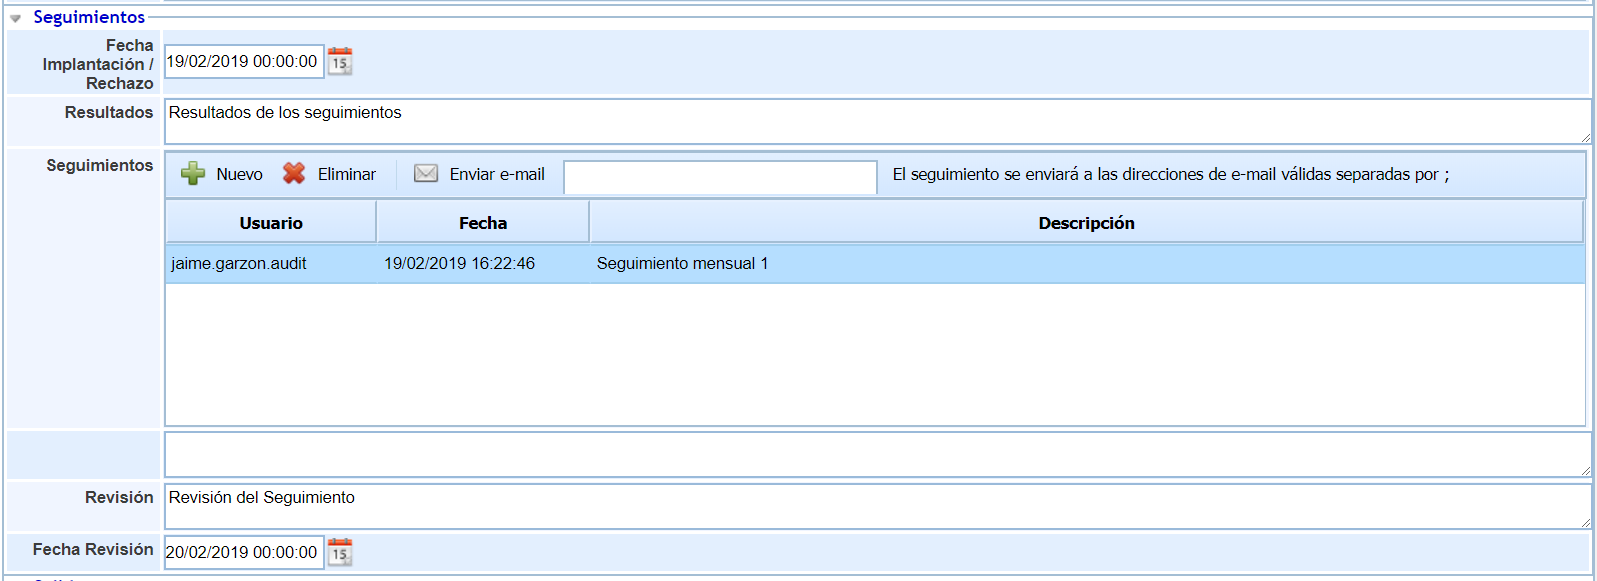
Follow-ups
-
Implementation / Rejection Date: This is the date on which the requirement is implemented/rejected.
-
Results: Allows defining the results obtained according to the follow-ups.
-
Follow-ups: Indicates the follow-ups to be carried out and is responsible for managing the follow-ups associated with the requirement. To create a new resource, click on New where a selectable appears, or to remove it, select it and press Delete. It also offers the possibility to Notify the user via email.
-
EMPTY:
-
Review: Defines the reviews of the requirement follow-ups, where review comments can be added.
-
Review Date: This is the date on which the requirement follow-ups are reviewed.
Outputs

-
Outputs: If the evaluation results are not as expected by the user, the ‘Outputs’ field allows opening different tickets (incident, corrective action, etc.) to manage SLA compliance. To do this, the ticket type must be selected from the dropdown and the ‘Add’ button pressed. This action automatically creates a ticket in the ‘Management’ section. To delete the ticket, the desired row must be selected and the ‘Delete’ button pressed. The tool provides the following dimensions:
-
Id
-
Subject
-
Description
-
Type
-