In this article, we will explain how to export loss events from GlobalSuite® to comply with the regulatory requirements established by the competent regulatory entities.
The specific functionality that allows exporting Loss Events from GlobalSuite® arises from the need for entities based in the Republic of Argentina to adapt to current regulations that require sending this information to the Central Bank of the Republic of Argentina (BCRA), meeting a series of specifications. These requirements are outlined in the official document Presentation of information to the Central Bank; Section 42. Database on Operational Risk events.
In GlobalSuite®, this functionality was developed strictly complying with all the requirements outlined in the mentioned document. Additionally, it is a highly customizable functionality, so its use can be extended to other areas of applicability according to the specific needs of each company.
This functionality is available in the Risk Management module of GlobalSuite®.
Configuration.
The configuration of this functionality is available in the Settings section of GlobalSuite®, specifically in the section Configuration > Tickets> Export Loss Events .
In the upper right corner of the screen, the specific option is available, as shown in the following image.
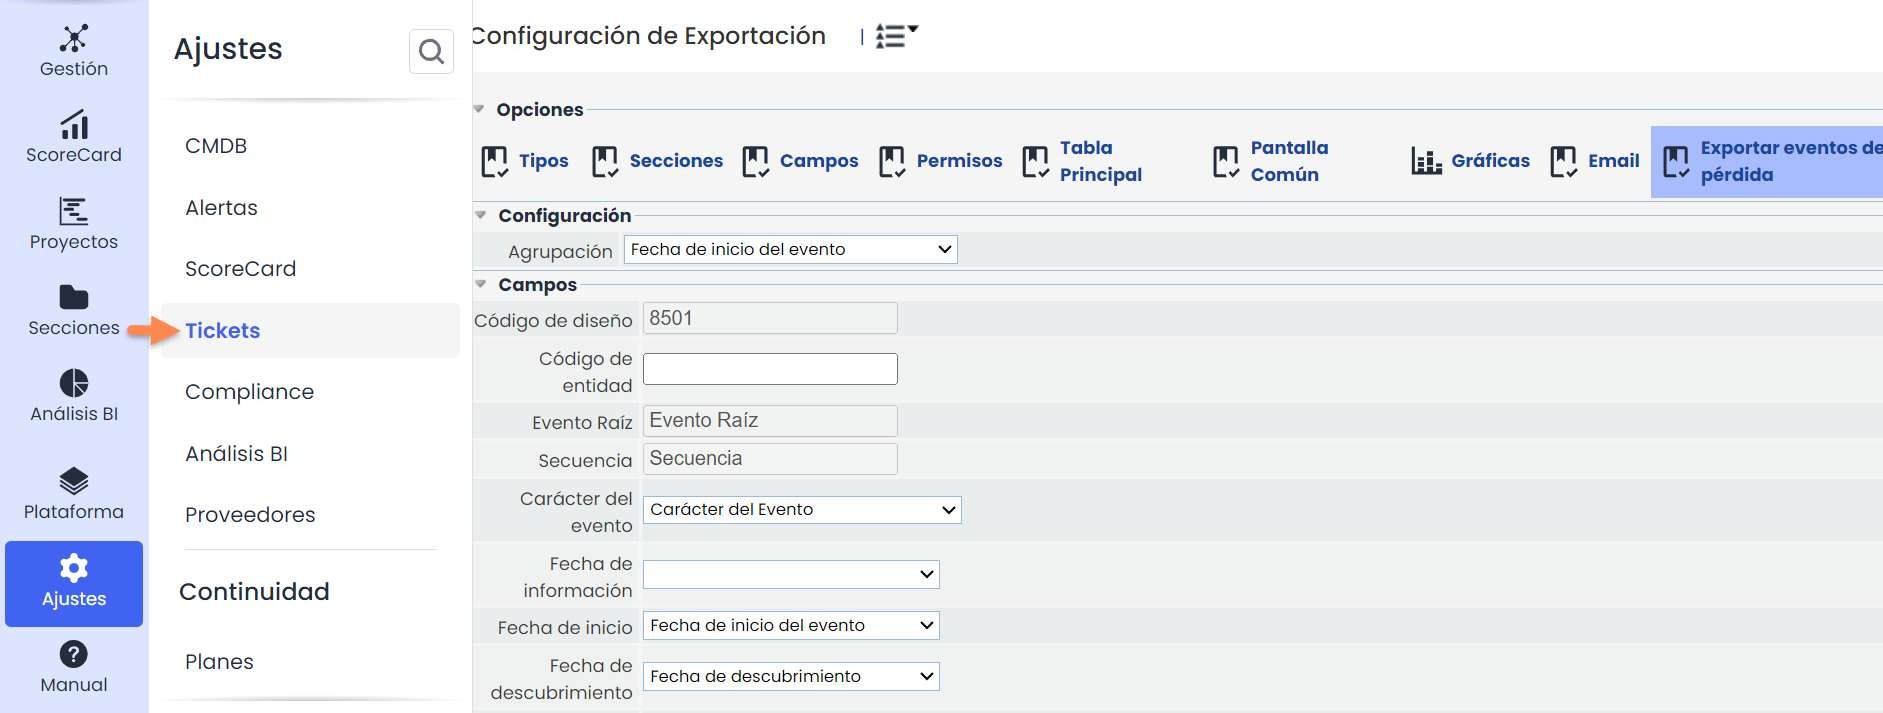
In the first field, Grouping, the criterion by which the loss events to be exported in the same txt file will be grouped must be indicated.
In the image, for example, the field “Information Date” has been selected as the criterion.

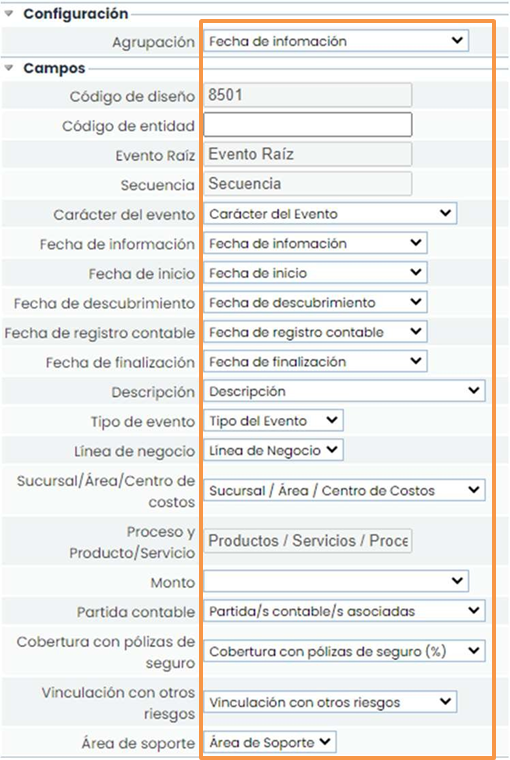
Field Mapping
Next, the fields that appear in the template (highlighted in orange in the image) must be mapped with the fields available in the loss events ticket form (highlighted in green in the image). This association will allow deciding which information present in the ticket will be exported in the resulting file.
Functionality .
The Export loss events function is located within the Management menu, in the option Loss Events.
The Export button must be clicked to proceed with the selection of the events to be extracted.
After that, a pop-up window will appear as shown in the following image:
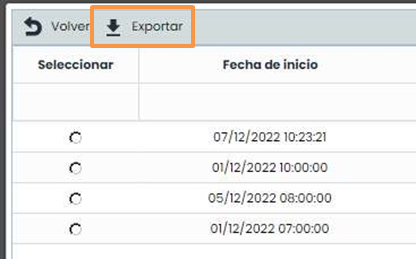
In this window, the available options will appear for selection according to the grouping criterion previously selected in the configuration option. See Configuration. Field Mapping in this guide.
In the example of the image, the field “ Information Date” was previously selected as the grouping.
The desired option will be selected, and the Export button will be clicked, thus obtaining the resulting txt file:
